Kitchen Installation Part 3: Cabinets
- vwarheit
- Dec 15, 2020
- 2 min read
Updated: Jan 2, 2021
After the long process of designing the kitchen layout, we had to wait while our cabinets were being made (in Ohio), and then shipped across the country to us. But eventually, the delivery truck arrived:

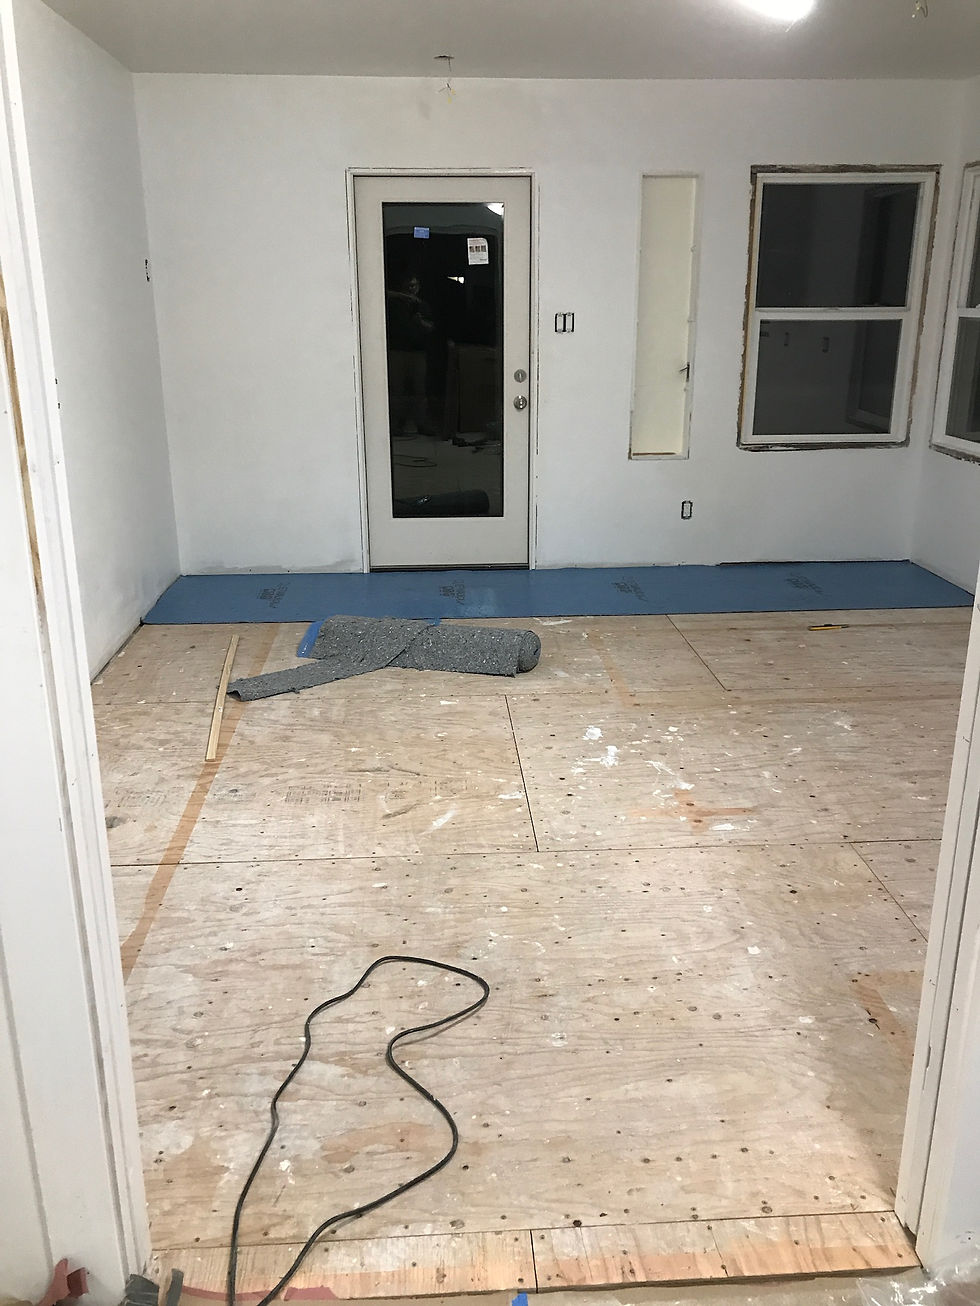
We stored the boxes in the living room, since we hadn't yet finished the floor in the kitchen.

Several years ago, I got Nik a laser level for his birthday -- but this was the first time he'd really gotten to use it. He claims it was essential for this installation. (He also needed several different hand levels.)

Nothing is true in an old house. The shims help fill the gaps so the countertops can be level.

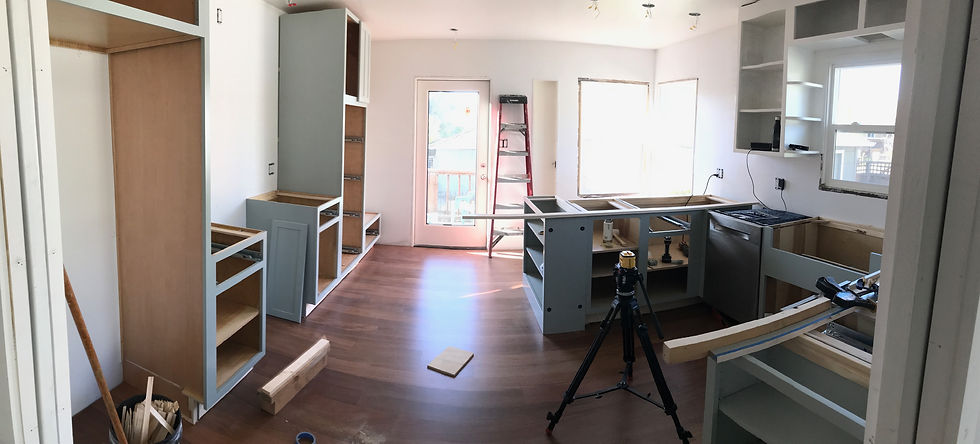
Then he had to screw each cabinet to the one next to it. The cabinets we purchased have maple facing, which means they'll last a long time; but it also means they are incredibly hard to drill into.

This is one reason why installing the cabinets was such a difficult and time-consuming task.

My job, on the other hand, this particular evening: sitting on the cabinet to make it level.

We discovered that the design didn't allow anywhere near enough room at the end of the peninsula - especially with the new position of the backdoor. So, much as I would have really loved a longer peninsula and the extra four drawers, we decided to not use one of the base drawer units. (We may end up putting it in the garage once we update that to an ADU. For now, it's in the garage in a box.)

Once Nik got all the cabinets installed (which ended up taking several days), he installed the sink (which involved cutting out a space in the front of the cabinet - he did a really nice job).

Then we pushed the fridge and dishwasher into place, and hung up the stove hood.

Now all we need is the stove... (currently backordered from Bosch)...

Nik also added an extra piece along the left edge of the fridge, giving it a nice finished look.

It's starting to look like a real kitchen again!


Comments